Intro
Hydro dipping can be a fun and interesting hobby, side hustle, or even a full time business! For beginners, it’s simply a matter of patience and practice. With a little time and experience, it won’t be long before you are looking for more things to decorate with hydro dipping.
The Hydro Dipping process follows these 5 steps.
- Step 1: Prep and Paint Your Item
- Step 2: Prep Your Hydrographic Film
- Step 3: Prepare Your Container & Add Your Film to the Container
- Step 4: Activate Your Film and Dip Your Item
- Step 5: Touch Up and Clear Coat Your Item
Read on for the details!
Before You Begin
BadAss Custom Coatings STRONGLY recommends always doing a test hydro dip with a Speed Shape before you risk your item. We’ve been doing this for a LOT of years, and we run speed shapes all the time!
Each film will dip differently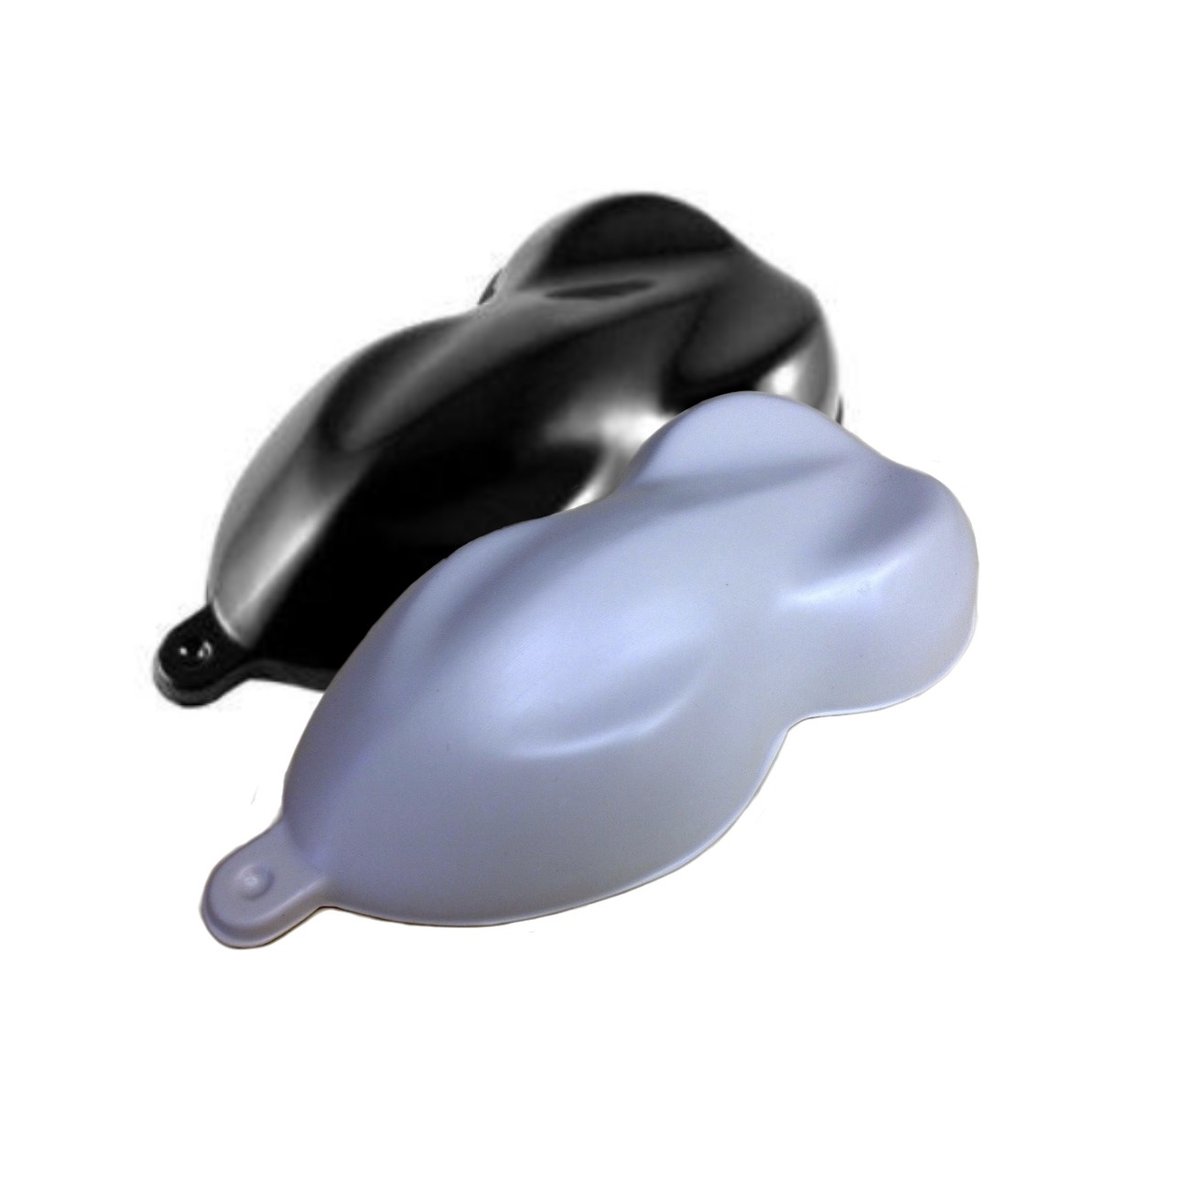 and every hydro dip experience will be unique. Water temperature, humidity, light, heat sources and so many other things can play a factor in your dip that day!
Film is cheap. Speed Shapes are cheap. Recovering an item from a bad hydro dipping experience is frustrating and very time consuming and potentially expensive!
Speed shapes can be found at https://badasscustomcoatings.ca/product/speed-shapes/
Step One: Prep & Paint Your Item
Clean your item:
Your item needs to be free of all dirt, oils, wax, grease, loose paint, or other contaminants that could affect the finished product.
We strongly recommend cleaning first with a grease & wax remover, then use a Scotch-Brite pad to dull the surface, which will allow good adhesion of the paint. This is followed by a final cleaning with the grease & wax remover.
Mask any areas you do not wish to be decorated with masking tape. Finally, one last wipe down with a Tac-Cloth to ensure no dust etc, is left on your item.
Paint:
You want to get a good wet coat of paint on your item. We recommend a few light coats to build up to a decent coat, which should help eliminate runs in your paint.
Allow the paint to dry thoroughly (at least 1 hour) before moving forward with dipping.
Step Two: Prepare Your Film
Roll off enough film to cover your part and allow it to wrap around all areas of your item to be covered. Ensure that the film will fit in your dipping container without touching sides.
Using masking tape, make a square frame around film. This is to control your film so it doesn’t drift or wander when you’re hydro dipping.
Wet two fingers and touch one side of film with one finger and the other side with the other wet finger. The sticky side of the film when touched with a wet finger is the side that is placed “DOWN” (touching the water).
Step Three: Prepare Your Container & Add Your Film
Fill your container with warm water, between 70-90°F / 21-32°C (the temperature of a nice warm bath). Do not fill the container completely to the top with water! This is to allow for enough area for water level to rise without overflow and spillage during dipping.
Carefully lay your film on top of the water without getting water on top of the film. Allowing your film to touch the water in the center first then slowly allowing the sides to touch will help keep from trapping air bubbles underneath.
Once your film is on top of the water, if you see any air bubbles trapped underneath the film, you can lightly push the bubbles to the sides with your finger or gently blow on them, working them to the edge of the film and out.
** VERY IMPORTANT!! The film needs to hydrate (sit on top of the water for at least 60 seconds before the next step).
Step Four: Activate Your Film & Dip Your Item
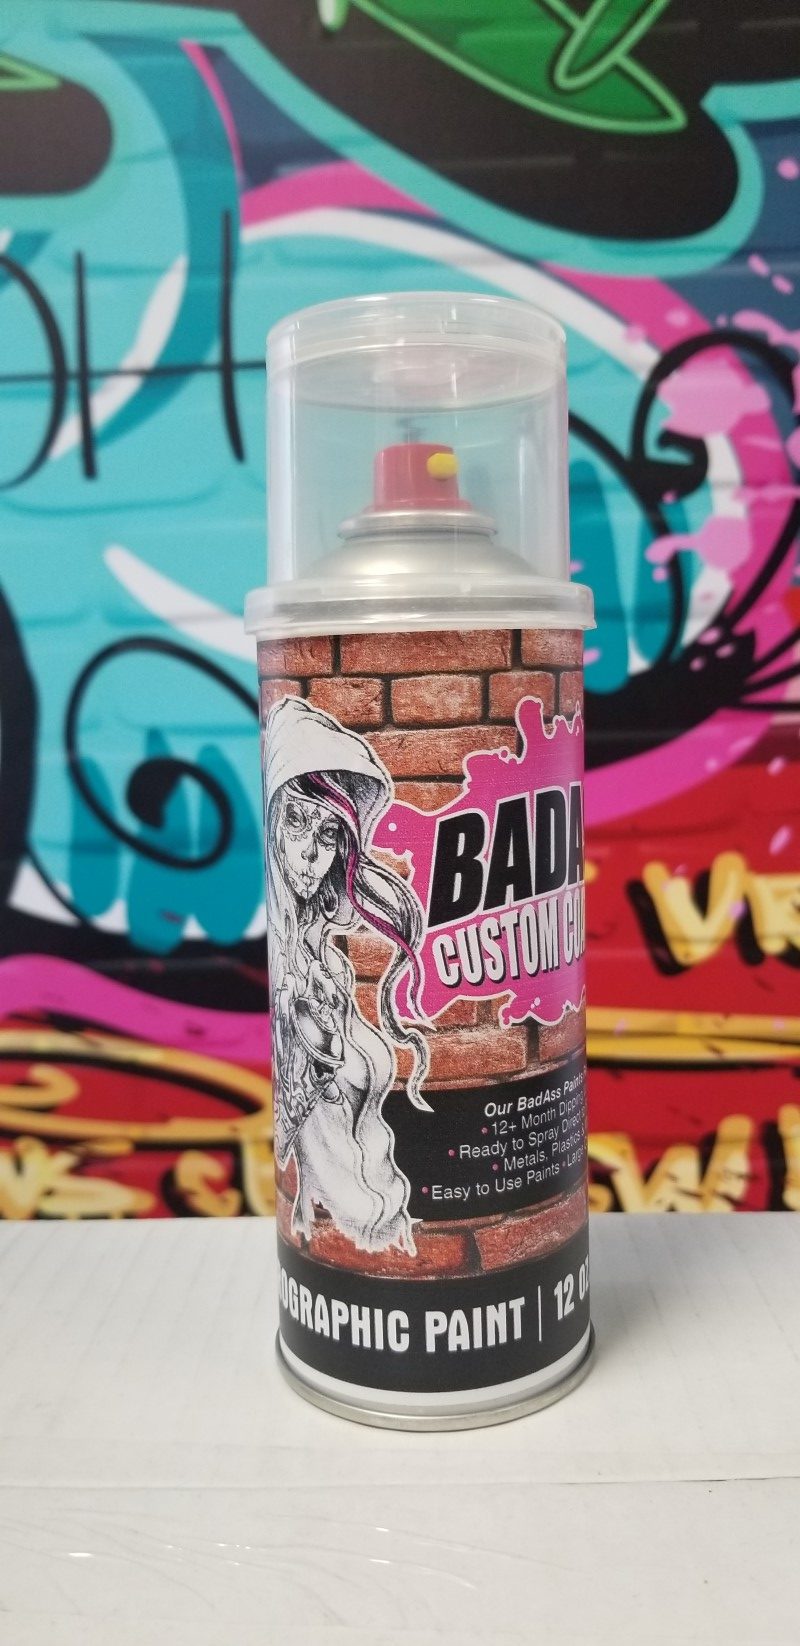
After the film has soaked/hydrated, spray the activator approximately 12 to 18 inches above the film.
Spray straight down, spraying at an angle can distort film image!
Only one wet coat of activator is necessary. Overlap approximately 20%, if multiple passes of spray is necessary. (One of the biggest mistakes made is spraying too much activator!)
The film is ready to be dipped into once the film has a glassy appearance or appears to have a liquefied state, normally about 10 to 15 seconds after activator is applied. Wait no longer than 30 seconds as the activator will evaporate and the film will be lost.
Dip your item into the film at approximately a 30 degree angle to avoid trapping air, which will cause air pockets. Air pockets will result in voids or spots in the print on your item. Dip your item in one smooth, continuous motion and go slowly!
Once dipped, rinse your item with clean, warm water until any slimy residue is completely washed off your item.
Step Five: Touch Up and Clear Coating Your Item
Touchup:
After your item has dried, any defects/voids etc. can be touched up with a small paint brush and either activator or lacquer thinner. Take a wet brush with activator or lacquer thinner and rub the brush on a piece of unused film. This will transfer ink from film onto your brush that you can use to touch up your item.
Clear Coat:
Once your item is completely dry and touched up, the last step is to protect it with a coat of Clear Coat. This will lock in the decoration and make it both durable and fade resistant. Spray numerous light coats instead of one heavy coat. This will help prevent getting runs in the clear coat. Allow to dry between each coat.
BadAss Custom Coatings has a selection of durable finishing clear coats specifically formulated for use with hydro dipped items. They come in flat, matte/eggshell, semi-gloss and gloss to suit your tastes and needs. You can find our selection of finishing clears here. Finishing Clears
“DOUBLE DIPPING” (If you are dipping one side of an item at a time):
For larger items, you may find it necessary to “Double-Dip”. After dipping the first side and once your item has been rinsed off and has dried, lightly spray a coat of clear coat on the dipped/decorated side. This is just to protect the dipped/decorated area from being pulled off by tape. Then cover the dipped side with paper/plastic securing with a non-aggressive tape such as “Yellow Frog Tape”.
It is not necessary to refill the container with water after each use. After dipping, remove as much debris as you can. Once you’ve removed the debris from the previous dip, take a paper towel and sweep across the water’s surface. Any small pieces of debris that you could not remove from the previous dip should not hurt anything. Just lay film right on top of it for the next dip. If you are dipping multiple times in the same water it would be best if the starting temperature of your water is over 80°F/27°C to allow better evaporation of the activator from the water.
Notes on Paints
Choosing a Base Coat & Clear Coat
 We sell an incredible variety of paint that is specifically designed for the Water Transfer/Hydrographics process. You can browse our paint selection here. Paints & Intercoat Clears
However, we know that people are always looking to save by using what they have on hand (especially when they are just starting out), so these are some suggestions to help you choose from something you might have available right now.
When you are dipping an item, keep in mind that the activator that is sprayed on top of the film that you will be dipping your item into contains ingredients, such as lacquer thinner, mineral spirits and reducers. It softens the top layer of paint and some paint will be absorbed during the process, meaning it is very important to get a good coat of paint on your item.
First off: DO NOT use any type of single stage oil base acrylic enamels!
These paints dry in an eggshell fashion. This means that the top dries first and the center will remain soft and wet for a good while after painting your item. Furthermore these types of paints were not designed to have any top coat/clear applied on top of them.
Automotive urethane base coats and clear coats work very well. Water based automotive paints also do a good job.
Dip urethane-based parts within 24 hours and water-based parts within 4 days. There is a fine line between wanting to ensure that the paint is dry and dipping as soon as possible because as paint dries, it hardens. Harder paint makes it more difficult for the ink on the film to stick to your item during dipping.
At temperatures of over 70°F, a safe bet would be to wait about 1 hour before dipping.
Water based airbrush paints work well also, as do Acrylic latex house paints used in a sprayer.
If you use aerosol spray paint, use flat or satin finish, not gloss. Or you can also use just a gray or white primer. It is very important when using this type of paint to dip your item as soon as your item is dry and can be handled because, as the paint hardens, it will be more difficult for the ink to adhere to your item.
It is also recommended that you use a clear top coat of the same series made by the same manufacturer to insure that there is no bad reaction from base or clear on top of one another.
Your Next Dip Project!
Good luck with your project and happy hydro dipping!